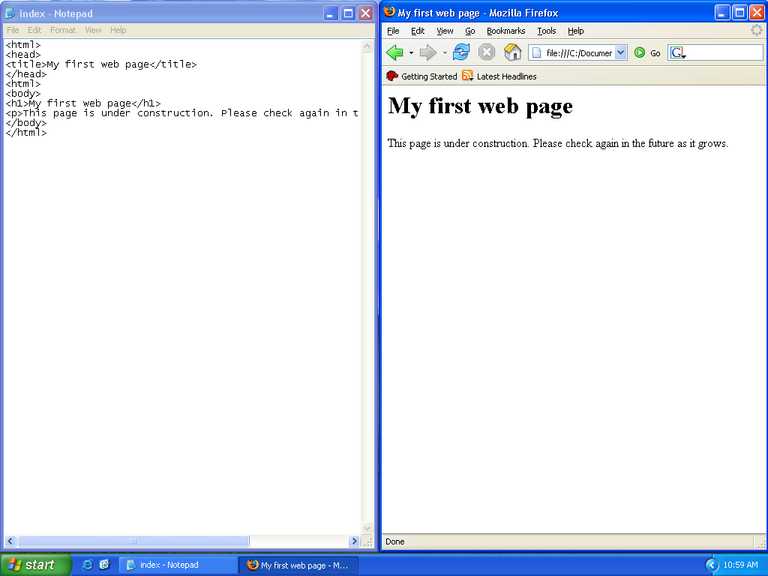
Let's return to the setup we had before with the web page open in Notepad on the left, and the local copy of the website open in the browser on the right. Keep in mind that when you use the menu "File" then click "Open" in Notepad, the default file type will be "Text Documents (*.txt)." You will have to change this to "All Files" or your "index.htm" file won't show up in the "Open" dialog.
Here is how it looked before.
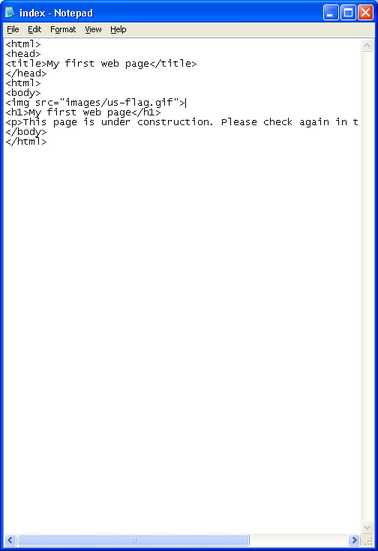
Let's add the image right above the heading on our page. Place the cursor right above the opening body tag ( <body> ) then press enter to create a new line.

Now type the following on that line.
<img src="images/us-flag.gif">
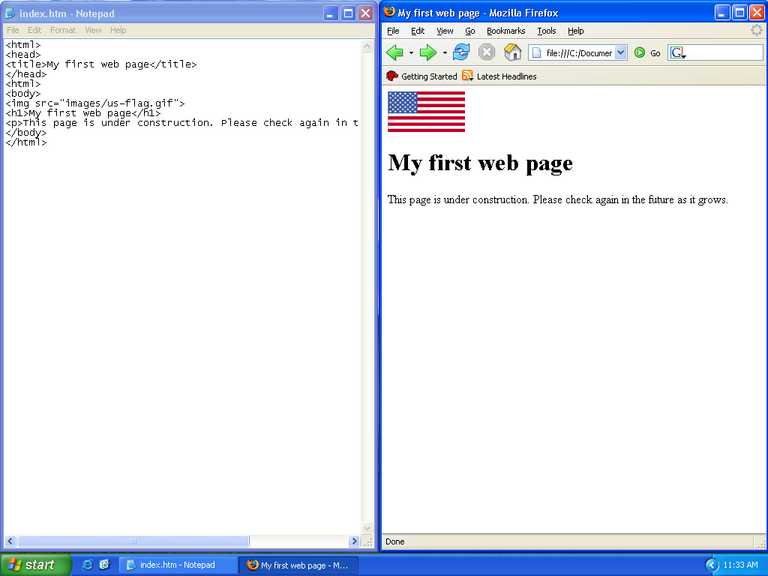
Your file should now look like this.
Some explanation is in order. This code is a simple form of image tag. It has two parts. The "img" really just specifies that this is an image that we want included at this point in the web page. The "src=" part is the location of the image file. In this case, we have specified that the location is "images/us-flag.gif." You may know that the actual location of this file on your hard drive is something like "C:\Documents and Settings\Owner\My Documents\My Pictures\website\images\us-flag.gif." If you were to put that in your index.htm file it would work, but only on your computer. Once you upload your web site to the web server it would not. The reason is that the location, or path, on the web server will quite likely be different from the one on your computer. Hence, when someone visits your page they will either see nothing, or an empty box where your picture should be.
To solve this problem we use what is known as a relative path. The relative path in this case starts at the location of the of the current document, our index.htm file. It specifies to first look in the "images" folder where it will find "us-flag.gif."
Notice also that the separator between the folder name and the image file name is a forward slash. If you'll notice that when you visit a web page, the separators are also forward slashes. This is because all web servers can use the forward slash as a separator, but only windows based servers would correctly interpret back slash separators. So the convention has evolved to always use the forward slash in HTML files, so they'll work regardless of the server type.
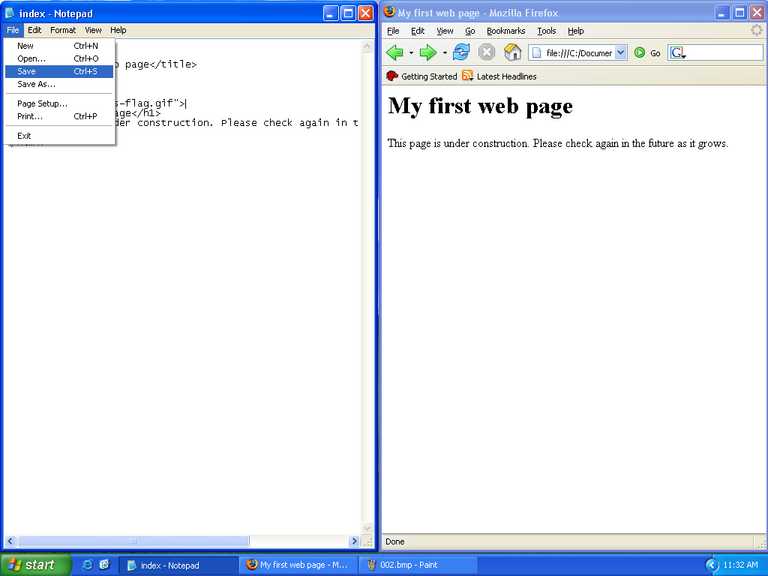
Okay, so we have added the code necessary to display the image in our browser. Now we need to save the file. Click "File" then click "Save."
Now to see the effects in your browser we need to refresh. Click the "refresh" button.
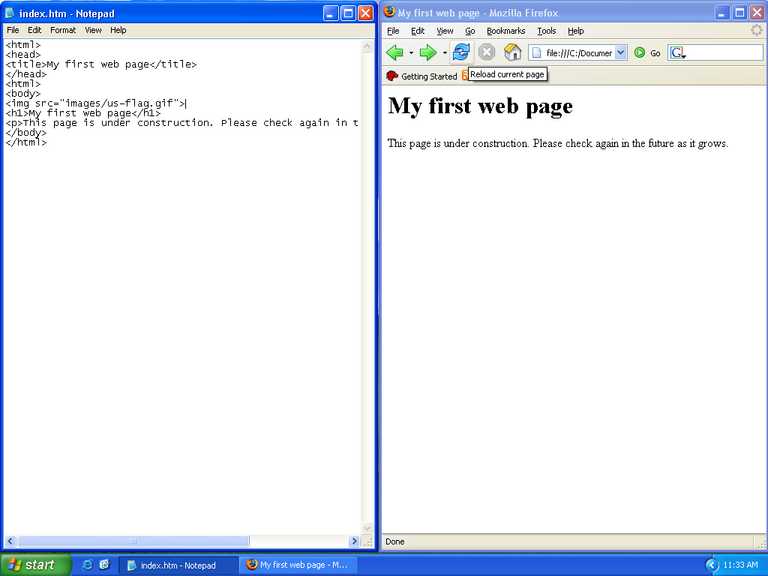
Here is the result.
If you've made it this far, congratulations! You have created a basic HTML file, added an image to it, and it works in your browser. But only you can view it now. Its time to move on to publishing it for the world to see.